Adjusting your monitor’s display settings can transform your viewing experience, reducing eye strain, enhancing clarity, and delivering more accurate colors. Whether you’re working on detailed design projects, streaming movies, or simply browsing the web, dialing in the ideal brightness, contrast, and color balance ensures that every pixel looks its best. While professional calibration hardware offers top-tier results, a handful of simple lifehacks lets you optimize display settings quickly and affordably. This guide walks you through evaluating your environment, using built-in presets and free tools, fine-tuning key parameters, and maintaining your settings for consistent performance.
Assess Your Environment and Lighting
Ambient light exerts a profound influence on how display settings appear. Strong glare from windows or overhead lights will wash out colors and obscure details, while dim, uneven lighting can make a screen seem too bright and harsh. Begin by choosing a workspace with controllable lighting: draw curtains to eliminate direct sunlight, use soft bias lighting (an LED strip behind the monitor) to reduce eye fatigue, and position lamps at low angles to avoid reflections. These lifehacks create a stable visual reference, ensuring that subsequent adjustments to brightness and contrast aren’t skewed by fluctuating light. By optimizing your environment first, you gain a reliable baseline from which to fine-tune display presets and calibration tools.
Leverage Built-In Presets and Color Modes
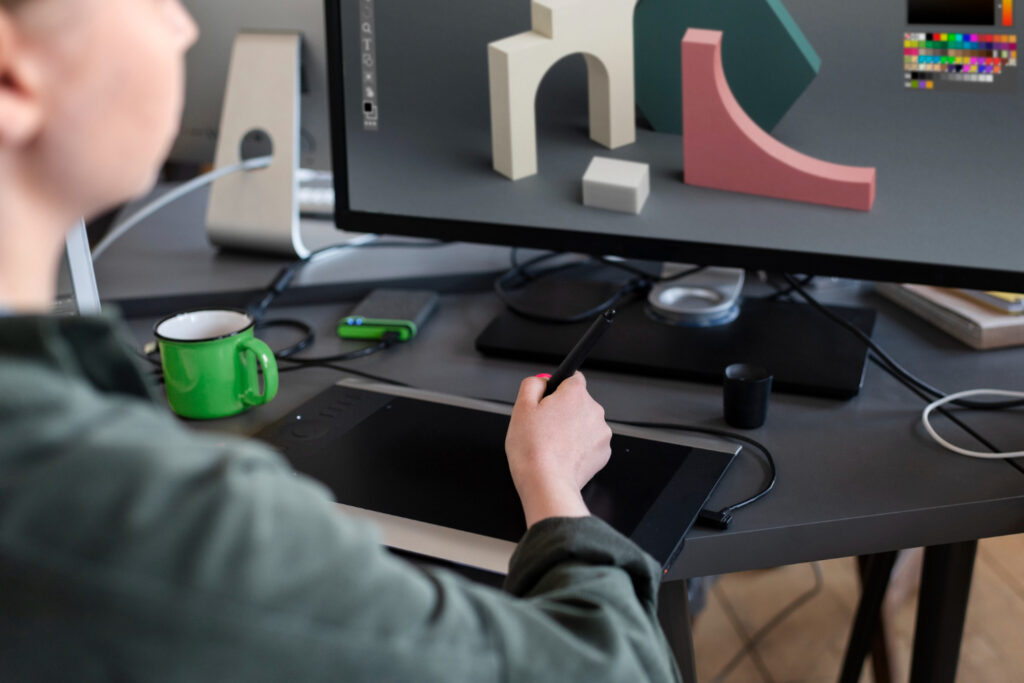
Modern monitors often include factory presets—such as “Movie,” “Game,” “Reading,” and “sRGB”—that adjust brightness, contrast, and color temperature with a single menu selection. While none may be perfect out of the box, testing each reveals which mode comes closest to your needs. For general productivity, “Reading” or “Warm” modes lower blue light and brightness, reducing eye strain during long sessions. Creative work benefits from “sRGB” or “Adobe RGB” modes that adhere to standardized color spaces. Some monitors feature user-customizable profiles; save your favorite settings as custom presets for one-click access. Employing these quick lifehacks lets you switch based on task—crisp, vibrant colors for gaming or subdued warmth for late-night reading—without diving into manual menus every time.
Use Free Calibration Tools for Precision
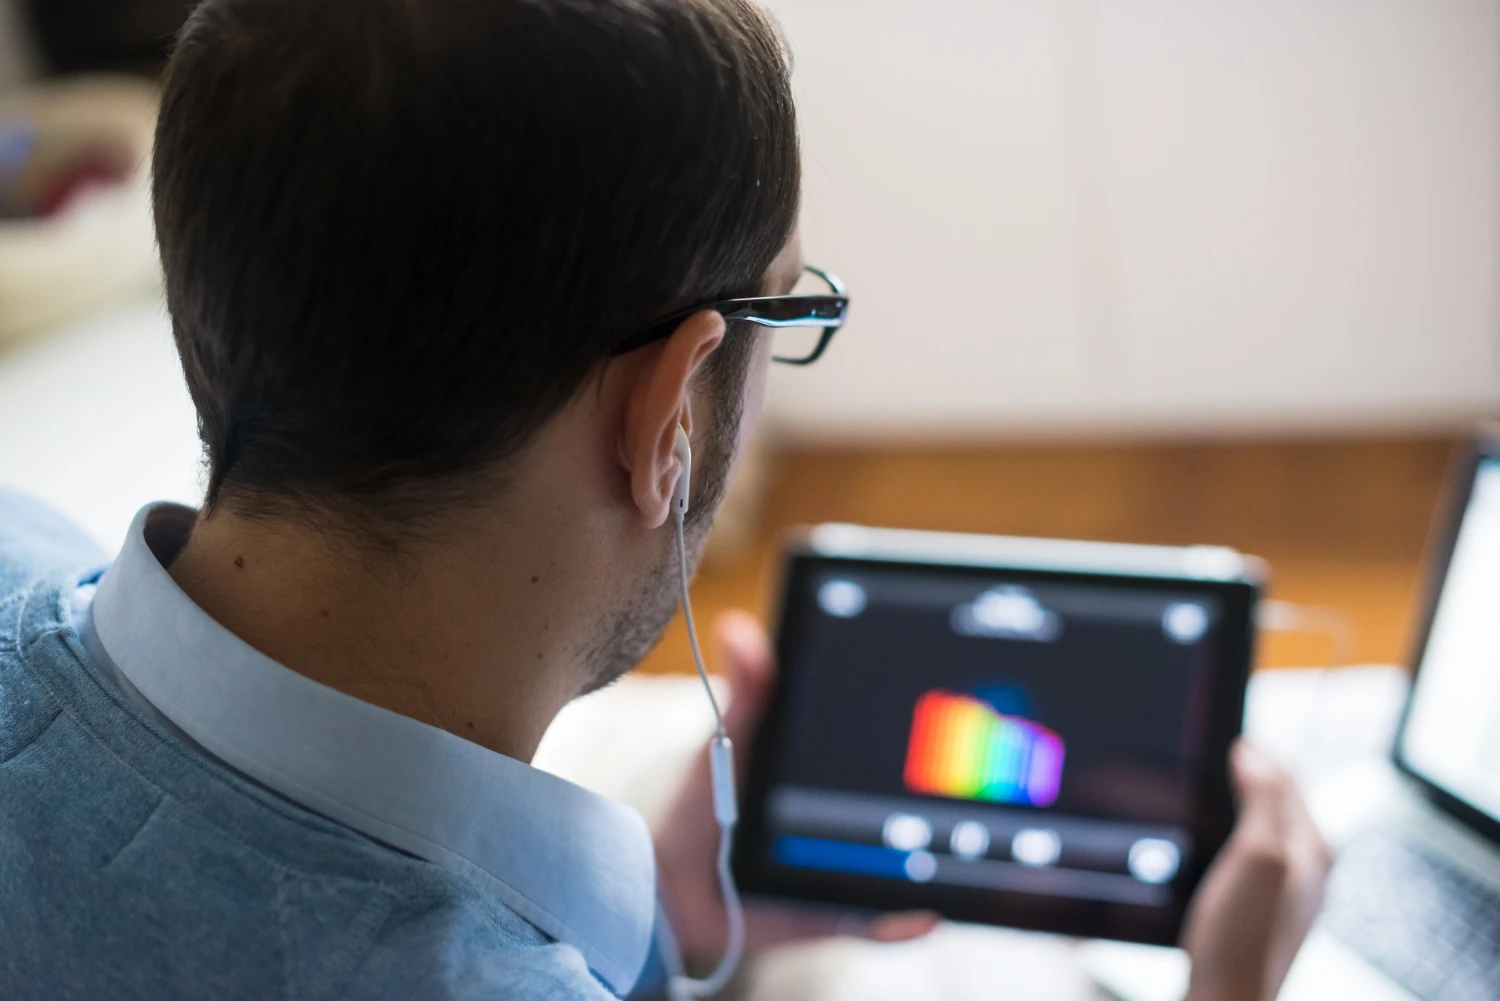
When built-in presets fall short, free software tools offer a deeper level of control. Applications like DisplayCAL or QuickGamma guide you through step-by-step adjustments of gamma, white point, and contrast without needing a colorimeter. These programs generate on-screen test patterns—grayscale ramps, color bars, and contrast charts—and prompt you to tweak your monitor’s OSD (on-screen display) controls until bars appear uniform and balanced. By visually aligning each test pattern, you approximate professional calibration with zero hardware cost. For environments with multiple displays, replicate this process on each screen to ensure consistency across all devices. These calibration lifehacks harness the power of software to deliver more accurate, comfortable displays at no expense.
Fine-Tune Brightness, Contrast, and Sharpness
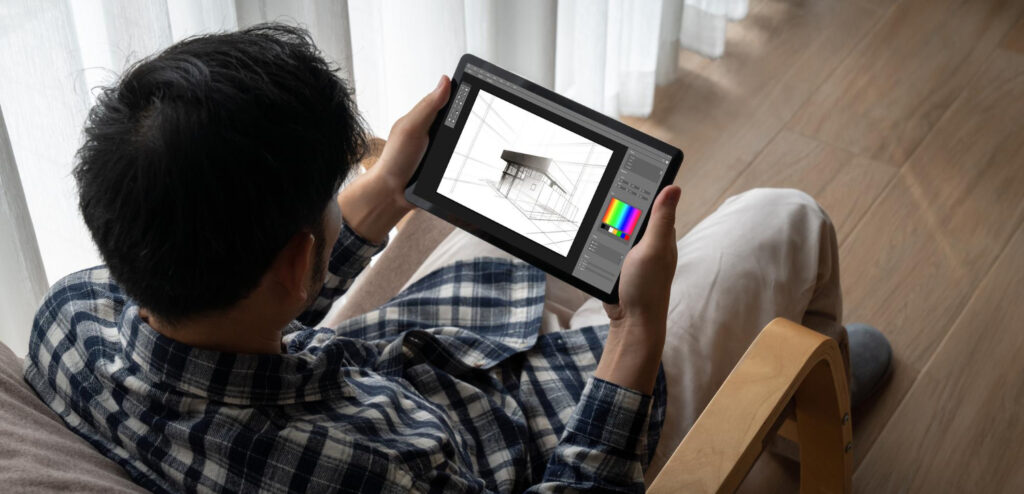
With your environment set and presets selected, it’s time for the granular tweaks that elevate clarity. First, adjust brightness so that the darkest grays on a calibration pattern are distinguishable from true black—this ensures shadow details remain visible. Next, increase contrast until the brightest whites sparkle without clipping details. Be cautious: excessive contrast can wash out midtones. For sharpness, avoid the temptation to max it out; high sharpness settings introduce halos around text and graphics. Instead, dial it to a point where edges look crisp without unnatural outlines. These manual adjustments, performed while referencing test images or calibration software, bring out the full potential of your display, making text, images, and videos pop with clarity and depth.
Maintain and Revisit Your Settings
Display settings can drift over time due to aging backlights and environmental changes. To keep your screen performing at its best, schedule periodic checkups—every four to six weeks is ideal. Re-run calibration software and compare your current profile against saved presets, noting any necessary tweaks in brightness or contrast. Use calendar reminders or automation tools (like a weekly task in your productivity app) to prompt these checkups. Additionally, if you move your setup or change lighting, revisit your environment lifehacks—adjust curtains, reposition lights, and re-evaluate presets. By maintaining a routine calibration habit, you ensure your display settings remain optimized, delivering consistent, comfortable, and accurate visuals day after day.